Ice crystal formation is the number one cause of poor texture in ice creams. Water in the ice cream mixture freezes into ice which causes a crumbly and unpalatable texture. In the worst case, it can be icy and grainy. The quest for the best ice cream recipe often revolves around trying to get the correct texture and consistency to the ice cream. Dissolving more sugar into the mixture lowers the freezing point of water, but can also make the ice cream too sweet and possibly soupy (sometimes even gritty if the sugar begins to crystalize). The use of binders like guar gum and carageenan, if not carefully controlled, can result in a goopy consistency and odd mouthfeel (and isn't always available to home cooks). Egg yolks are also used to bind water to fat, but the number of yolks needed to provide enough lecithin and other proteins to effectively bind all the water in milk and cream often results in an ice cream that has an overwhelming eggy flavor. Jeni's Splended Ice Creams at Home uses a few novel techniques to make the creamiest and smoothest ice creams around. First, she relies on casein and whey proteins instead of eggs to bind most of the water in the ice cream. By boiling the milk and cream, the milk proteins begin to denature and bind readily to the water (and evaporates some of the water as well). A dollop of cream cheese, which is rich in casein, is whisked into the mixture to provide additional milk proteins. As extra insurance, a slurry of tapioca starch is added to the ice cream base to capture any unbound water into a starch matrix. The inclusion of a little bit of tapioca syrup (which is an invert sugar high in glucose) helps prevent the sugar from forming crystals. All of this serves to make a homemade ice cream of unsurpassed quality, texture, and consistency.
When you make the ice cream, make it at a brisk pace. I had some difficulties photographing the process while making it at the same time. Some of the steps are easier with two hands (an impossibility when one is holding the camera) and other steps work better without pauses. (After you pour the ice cream mixture into the cannister, immediately start spinning it or it will freeze into place after a minute. Also, when scooping the spun ice cream out of the cannister into a container, do so as quickly as possible or more and more ice cream will freeze to the inside of the cannister making it progressively more difficult to scoop out.)
The day before making this recipe, freeze the cannister from your ice cream maker. (This is, of course, assuming your ice cream maker is the type with a cannister or bowl to be frozen. Otherwise, you'll have to read the instructions on your ice cream maker and adjust the instructions for spinning the ice cream accordingly.) Prepare honey pecan pralines an hour or two in advance and set aside 3/4 cup for use with this recipe. (You can use more or less pralines depending on if you like a lot or a little in your ice cream. I suggest 3/4 cup as a starting point.)
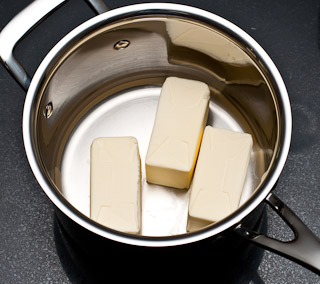 Start by melting 3/4 pound (340 g) unsalted butter in a pot over medium heat. This might look like a lot of butter, but we won't be using most of it. We'll be collecting the milk solids for the butter to flavor the ice cream while the rest of the butter will be stored for use in the kitchen as clarified butter.
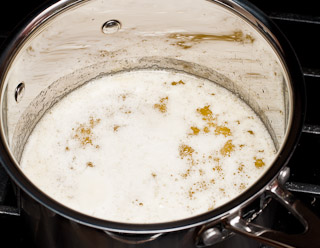 Once the butter has melted, it should begin to foam. Continue to cook over medium heat until the foam subsides.
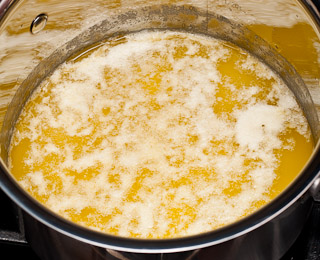 Allow the butter to sit until cooled and milk solids settle to the bottom. Some milk solids will also be floating on top - don't worry about that.
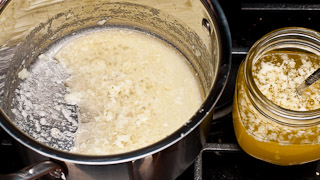 Pour the liquid butter into another container without pouring any of the milk solids from the bottom of the pot into the clarified butter container. Use a spoon to remove as much liquid butter as possible from the pot. There will be a little clarified butter left in the pot that you can't remove without removing milk solids. (If some milk solids are floating on the clarified butter, you can scrape it off after refrigerating the clarified butter.) There will be about 2 tablespoons of milk solids harvested from the 3/4 pound of melted butter. (Here at Cooking For Engineers, we have another way to collect milk solids and produce clarified butter. Use which ever method works best for you.)
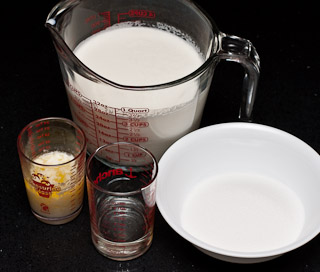 The ingredients we'll need to make the ice cream are 15 oz (445 mL / 460 g) whole milk, 10 oz (295 mL / 300 g) heavy cream, 2/3 cup (133 g) sugar, 2 tablespoons (30 mL / 44 g) tapioca syrup (or light corn syrup if tapioca syrup is unavailable), and the milk solids. I list the masses of each of these ingredients because when I make this recipe at home, I just place the pot with the milk solids on a scale and measure all the ingredients directly into the pot. This saves the hassle of dirtying a bunch of measuring cups and bowls. Also, getting light corn syrup out of a measuring cup is a pain. Measuring it directly into the cooking vessel is much faster and easier.
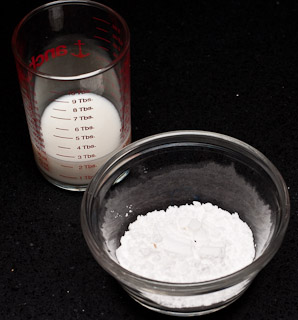 For the starch slurry, measure 1 ounce (30mL / 30 g) whole milk and 4 teaspoons (11 g) tapioca starch (or corn starch if tapioca starch is unavailable).
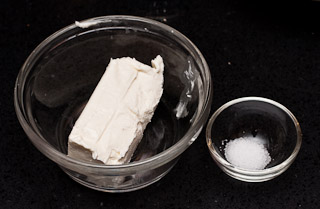 We'll also need 3 tablespoons (42 g) cream cheese and 1/8 teaspoon (0.75 g) table salt.
 Combine the milk solids, 15 ounces of milk, cream, sugar, and syrup into a pot (3 quarts or larger to contain any foaming) and bring to a boil over medium heat.
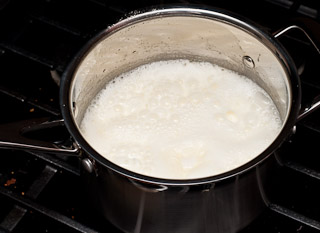 Allow the mixture to boil for four minutes. Keep an eye on the level of the foam if you are using a pot smaller than 4 quarts and adjust the heat to prevent boil over. Boiling the mixture helps reduce the water content in the ice cream base through evaporation and to denature the proteins in the milk and cream. These proteins will bind with the water in the ice cream base and help prevent ice crystals.
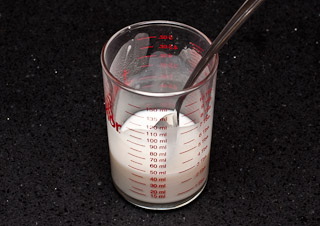 Prepare a slurry by mixing the tapioca starch with 2 tablespoons of milk. Mix well and make sure no clumps of starch are left in the milk or on the spoon.
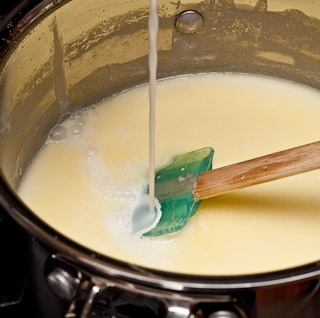 Remove the pot from the heat and pour in the tapioca starch slurry while stirring with a heat resistant spatula.
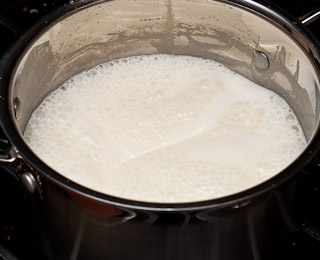 Bring the mixture back to a boil and boil for one minute while stirring with the spatula. Remove the mixture from the heat source.
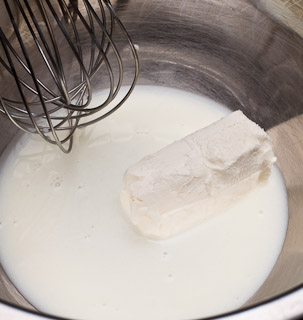 In a medium mixing bowl, place the softened cream cheese, salt, and a small amount of the hot cream mixture (anywhere from one to four tablespoons will work).
 Use a whisk to blend the cream cheese into the mixture.
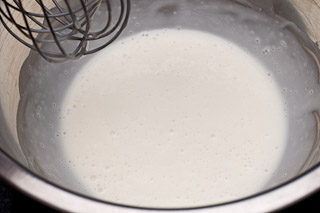 Continue whisking until there are no lumps of cream cheese remaining and you have a thick uniform liquid. Pour the rest of the mixture into the bowl and whisk until uniformly blended.
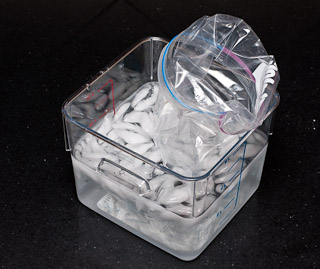 Prepare an ice bath with either a large bowl or container. I use about three to four quarts of ice water. Open a gallon sized Ziploc freezer bag and place it into the water bath.
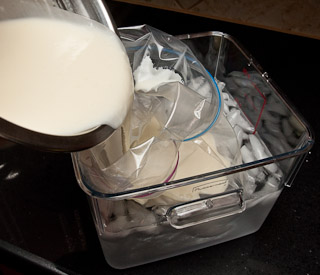 Carefully, pour the mixture into the bag. The bag will float on top of the water, but, as you pour the mixture in, it will sink into the ice bath. (I took this photo with my right hand while pouring with the left and trusting the container and Ziploc bag to behave and self-balance. I recommend holding the bag with one hand and pouring with the other to minimize the risk of any accidents. Folding the opening of the bag over like I did in the photos also helps keep the bag open while you pour.)
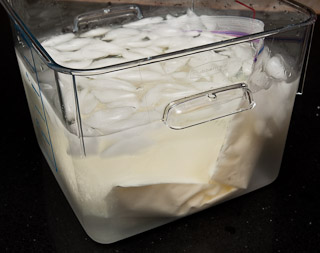 Try to work out as much air as possible from the Ziploc bag before sealing it. Submerge and flatten the bag to maximize the surface area making contact with the ice water. This is the fastest way to conveniently chill the ice cream base. Chill the ice cream base for 30 minutes or until completely cold. If you have enough ice in your water bath, you can leave it on the counter. Otherwise, placing the bath into your refrigerator can help.
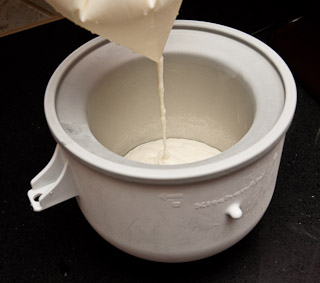 After thirty minutes or more has elapsed, remove the fully chilled bag from the water bath, wipe dry, and pour into your ice cream maker's frozen ice cream canister by snipping a corner off the bottom of the bag and allowing the contents to drain into the canister. You can help it along by squeezing the bag just as you would a pastry bag.
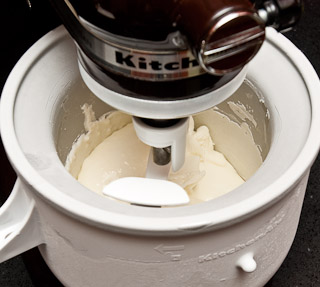 Immediately, place the scaper into the cannister and start the machine. I use an ice cream cannister with my Kitchenaid mixer, but another popular ice cream making device is the Cuisinart ice cream maker.
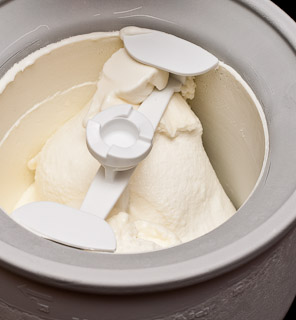 Allow the ice cream machine to spin until it looks like no more ice cream is being made. Or, in my case, the ice cream becomes so thick it won't turn anymore. (It's not necessary to get the ice cream that cold while in the machine... in fact, it only happened to me because I froze my canister at -10°F. Achieving a soft serve consistency is good enough.) Jeni's Splended Ice Creams at Home says you should spin the ice cream until your freezing bowl is no longer freezing the ice cream anymore and the ice cream pulls away from the sides. For her, this was about 25 minutes in. I have made several batches using her recipes already and haven't needed to run the machine for longer than 15 minutes (and have never had the ice cream pull away from the walls of the canister). She did her testing with a Cuisinart machine, so there might be a difference there.
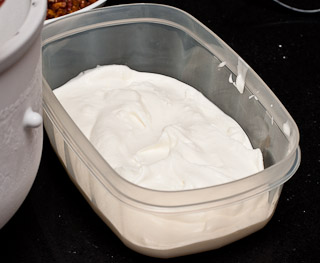 Scoop about a third of the ice cream out into a container with an airtight lid that is about 1.5 quarts or larger.
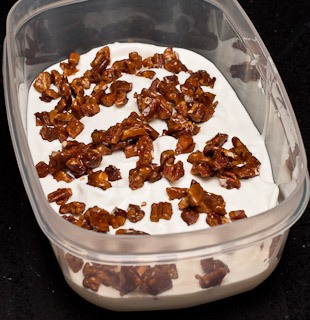 Sprinkle half the pralines over the ice cream.
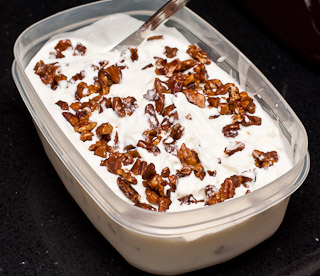 Scoop another third of the ice cream into the container followed by the rest of the pralines. Scoop the remaining ice cream into the container. The ice cream canister might still be freezing the ice cream touching the sides. If so, then the ice cream will be progressively harder to scrape out, so work quickly. You can use a dinner knife to gently cut through the pralines and ice cream mixture to even out the distribution if you wish. It's not necessary since the act of scooping the ice cream out will cut through the layers of pralines and ice cream.
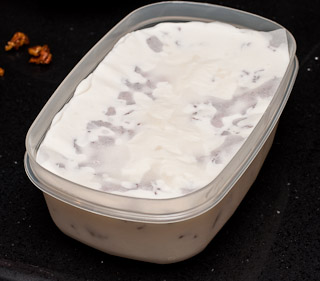 Place a trimmed sheet of parchment paper over the ice cream to minimize air contact with the ice cream as it freezes. This will also prevent any ice crystals from forming if you store the ice cream for a while. Cover and place in the coldest part of your freezer for at least four hours to completely freeze.
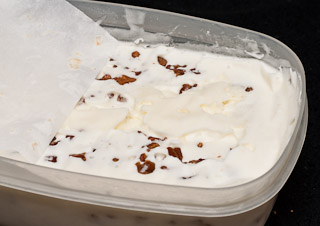 Ice cream is generally best served around 5°F (-15°C) to 10°F (-12°C), but stores best at below 0°F (-18°C). Depending on how cold you keep your freezer, you may need to take your ice cream out five to ten minutes early to allow it to warm up to scooping temperatures.
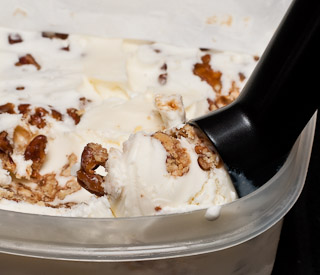 Using an ice cream scoop with antifreeze in the handle is the best way that I've found to scoop ice cream. They work a lot better than the classic ice cream disher.
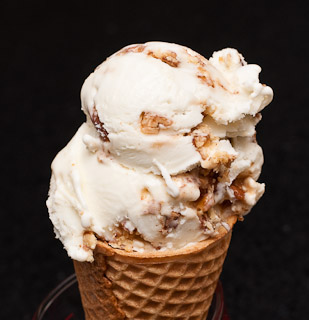 |
| Butter Pecan Ice Cream |
Butter Pecan Ice Cream (makes about 1 quart / 1 L)
| 12 oz unsalted butter | melt | pour off liquid butter and keep milk solids | mix | boil 4 min | remove from heat | whisk | boil 1 min | whisk until smooth | chill in Ziploc bag in ice bath 30 min | spin in ice cream maker | layer in container | freeze 4 hours |
| 15 oz (445 mL) whole milk | ||||||||||||
| 10 oz (295 mL) heavy cream | ||||||||||||
| 2/3 cup (133 g) sugar | ||||||||||||
| 2 Tbs (44g) tapioca syrup (or light corn syrup) | ||||||||||||
| 1 oz (30 mL) whole milk | ||||||||||||
| 4 tsp (11 g) tapioca starch | ||||||||||||
| 3 Tbs (42 g) cream cheese | ||||||||||||
| 1/8 tsp (0.75 g) salt | ||||||||||||
| 3/4 cup (200 g) honey pecan pralines | ||||||||||||